Customize a Distribution Report |
||||||||||||||
|
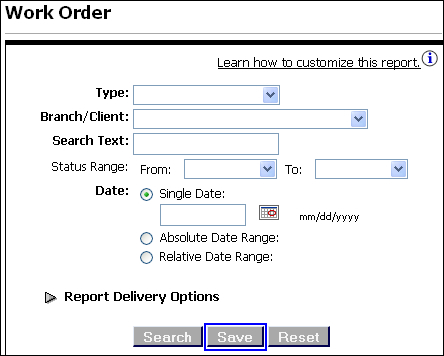
To customize a distribution report: 1 For the report that you want to customize, click Save.
Figure 1: Save Button - Work Order Report
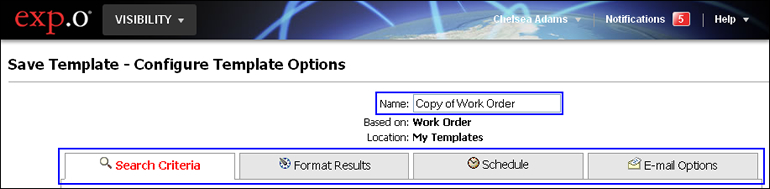
2 The Save Template - Configure Template Options page appears. Enter the Name of the customized report. The tabs on the page allow you to customize various features of the report. Click a section below to jump to the specific instructions about each tab:
Figure 2: Save Template - Configure Template Options Page
3 When you are finished customizing your report, click Save and Search or Save.
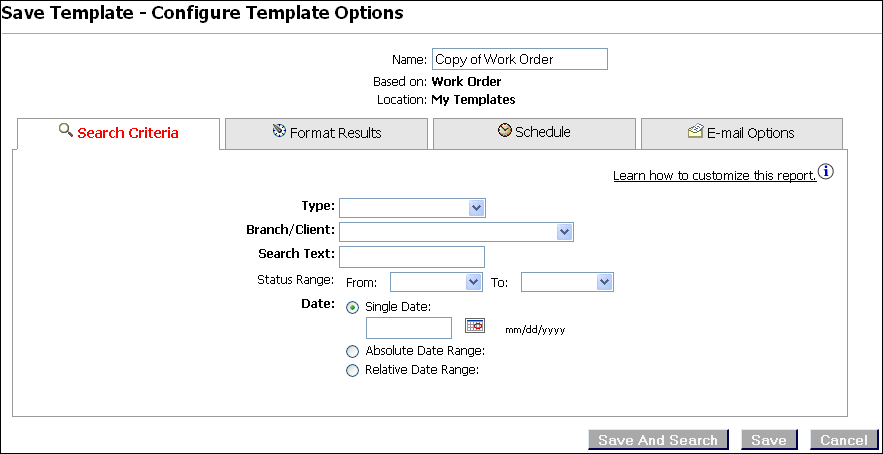
Click to see Figure 3: Search Criteria Tab
The Search Criteria tab allows you to enter the values for the report. Enter criteria as you would on the report itself. These values will be set in the report and will be applied every time the report is run.
Click to see Figure 4: Format Results Tab
To format report results:
1 Select the report results columns that you want shown by selecting the columns from the Available Columns box and then clicking the add arrow (
2 To remove columns, select the columns from the Selected Columns box and click the remove arrow ( To change the order of how the columns are presented in the report, select the column and click the arrows to move the column up or down in the order. The report columns appear from left to right.
3 For each column, you can select the column to populate the Column Properties at the bottom of the tab. You can then change the display Label of the column and the Alignment of the data.
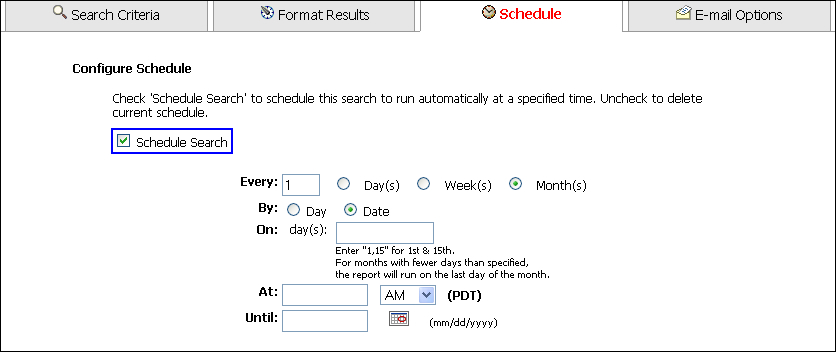
Click to see Figure 5: Schedule Tab
To set the schedule to have the report run automatically:
1 On the Schedule tab, select the Schedule Search check box to begin creating a schedule for the report to run. Fill in when you want the report will run:
Every: For example, enter 2 if you want the report to run every other day/week/month. Enter 3 if the report is going to run every three days/weeks/months, and so on. Click to view Figure 6: Every Field
Day(s): Select to run the report daily. No additional fields appear when selected.
Week(s): Select to run the report weekly. The On: field appears. Select one or any number of days you want the report to run on. Click to view Figure 7: Weeks Option
Month(s): Select to run the report monthly. The By: and On: fields appear. Select By Day to specify a day of the week to run the report or select By Date to specify a numerical day during the month to run the report. Click to view Figure 8: Months Option
4 Provide the time of day (in hours) for which the report will run.
At: Enter the time in format HH:MM. From the drop-down list, select AM, PM, or 24-hr. If using the 24-hr option, you must enter times after 12:00 noon as 13:45, or 21:30, and so on. Click to view Figure 9: At Field
5 Provide the Until date - the date for which the report will stop running on. You can also leave this blank if you want to always receive this report.
Until: You may manually enter a date in format mm/dd/yy, or use the calendar pop-up by clicking the calendar icon and selecting a date with the mouse pointer. Click to view Figure 10: Until Field
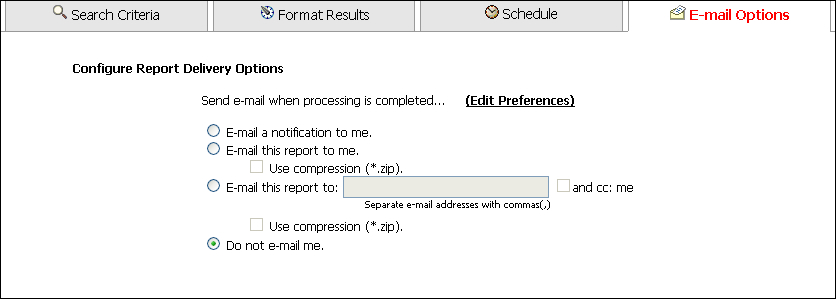
Click to see Figure 11: Email Options Tab
1 The E-mail Options tab allows you to indicate whether or not exp.o Visibility will email your report information when it has finished processing. Select one of the three email options. The option 'Do not email me.' is selected by default.
Use compression: Check this option if you want the report results sent as a zip file (to reduce the attachment's file size). Recipients will need Winzip installed on their computer to unzip the zipped file.
and cc: me: Select this check box if you want a copy of the email sent to you. Use compression: Check this option if you want the report results sent as a zip file (to reduce the attachment's file size). Recipients will need Winzip installed on their computer to unzip the zipped file.
All scheduled report results will be saved in the Recent Report Results. If you do not email the results, you can still access the most recent report after it is run in the Recent Report Results section of the home page.
© 2023 Property of Expeditors International of Washington, Inc. and its subsidiaries. Business Confidential and Proprietary. Reproduction by written authorization only. - Created by: Expeditors Technical Communications Department - |
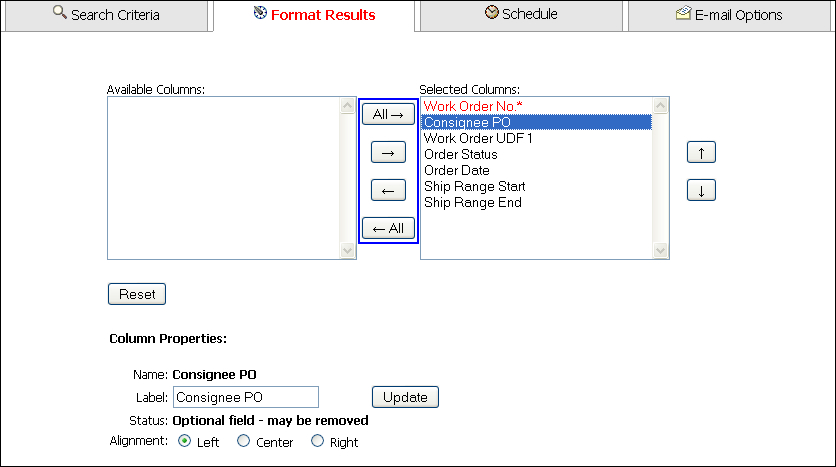
 ) to move them to the
 )
)