Create a Report |
|||||||||||||||
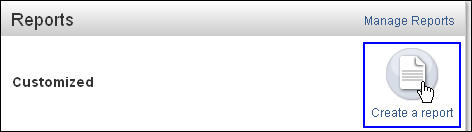
Figure 1: Create a Report
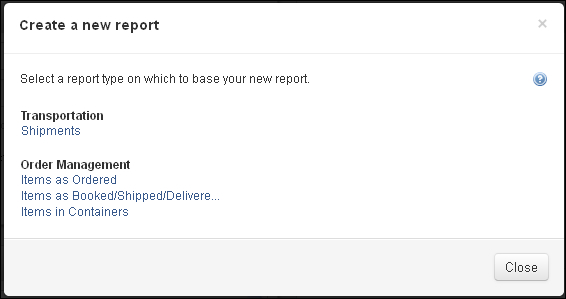
Figure 2: Create a New Report Pop-up Window
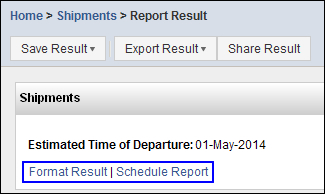
Figure 2: Running a Report - Format Results or Schedule Report Click to see Figure 3: Select Criteria Tab
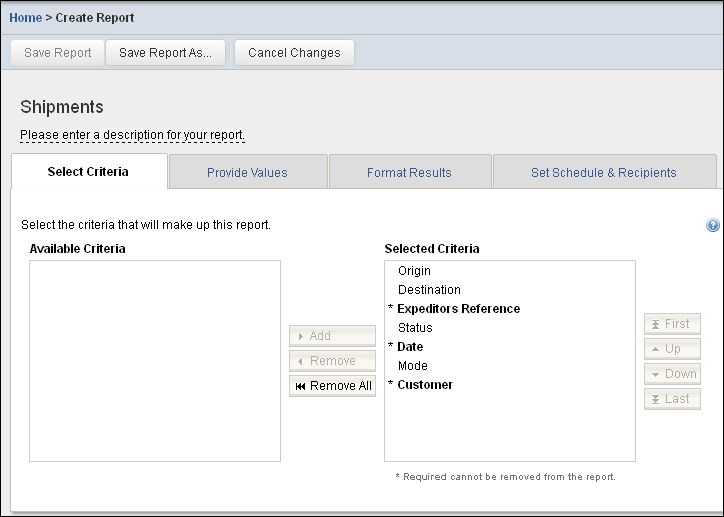
The Select Criteria tab allows you to choose any additional criteria for the report.
To add report criteria:
1 Select the criteria you want in the report by selecting fields from the Available Criteria box, then clicking Add to move them to the Selected Criteria box.
2 To remove criteria, select the fields from the Selected Criteria box and click Remove or Remove All to put them back in the Available Criteria box.
If you want to change the order of how the criteria fields are presented in the report, select the field you want to move and click the arrows to move the field up or down in the order.
Click to see Figure 4: Provide Values Tab
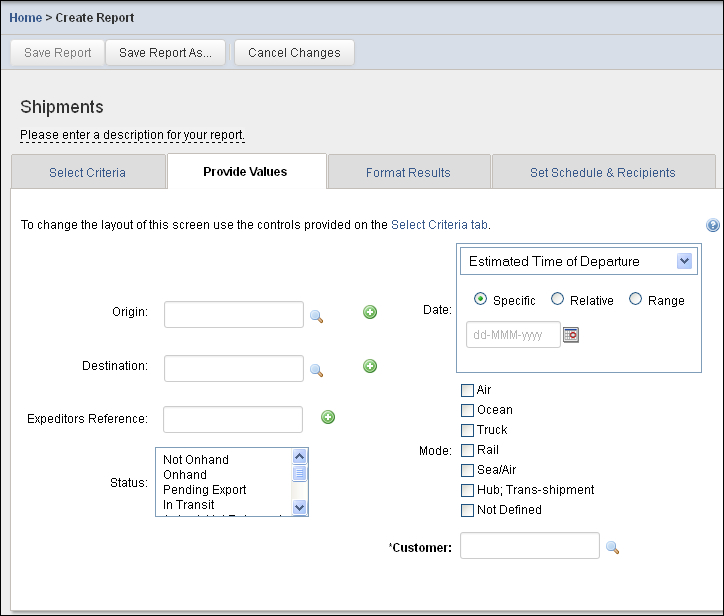
The Provide Values tab allows you to enter the values for the report. The fields shown are determined by the fields you choose in the Select Criteria tab. Enter criteria as you would on the report itself. These values will be set in the report and will be applied every time the report is run.
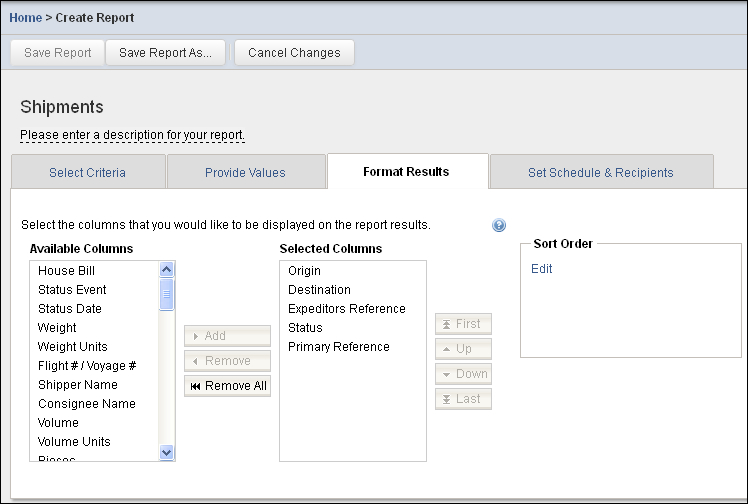
Click to see Figure 5: Format Results Tab
To format report results:
1 Select the report results columns that you want shown by selecting the columns from the Available Columns box and then clicking Add to move them to the Selected Columns box.
2 To remove columns, select the columns from the Selected Columns box and click Remove or Remove All to put them back in the Available Columns box. To change the order of how the columns are presented in the report, select the column and click the arrows to move the column up or down in the order. The report columns appear from left to right.
3 The Sort Order section allows you to set the default sorting on your results for up to four columns. Click the Edit link to open the Set Sort Order pop-up window.
4 Choose the field you want to sort first in the Sort By drop-down list. Use the radio buttons to the right of the field to choose whether the field is sorted Ascending (A to Z) or Descending (Z to A).
5 You can select additional sort fields in the Then By drop-down lists, if needed. Sorting is not required for creating reports or templates. Once you are done choosing the sort order, click OK to apply it to the report. Click Cancel to undo any sort order changes.
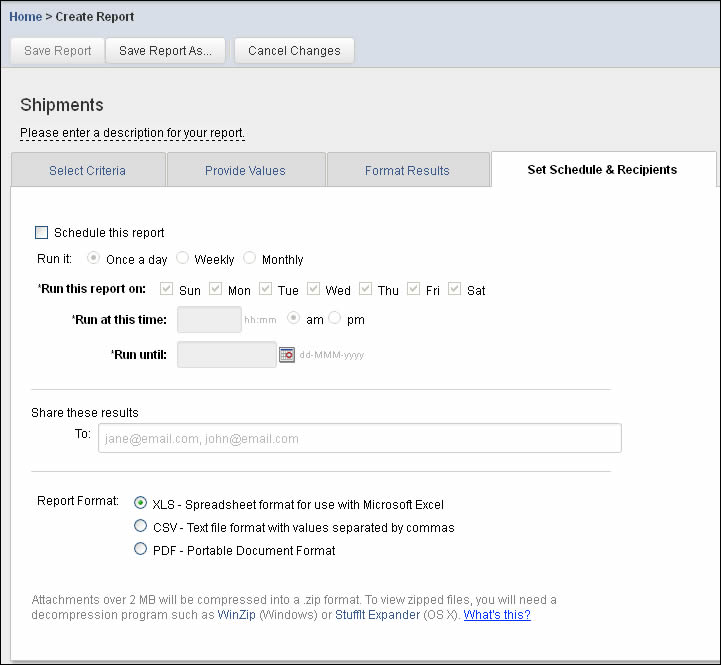
Click to see Figure 6: Set Schedule & Recipients Tab
To set schedule and recipients:
1 If you want to schedule the report to run automatically, select the Schedule this report check box then select how often you want the report to run.
Once a day or Weekly - Select the check box next to the days of the week you want the report to run on. Enter the time in GMT to run the report, and when you want the report to stop being run. All fields in bold are required.
Monthly - Select the day of the month you want the report to run on. Enter the time to run the report, and the date you want the report to stop being run. All fields in bold are required.
2 If you want the scheduled report to be emailed to other people, in the Share these results section, enter their email addresses in the To: field. Separate multiple email addresses with a comma (,). A link to the result will be automatically sent to you if you have email notifications turned on in the Recent Report Results section. All scheduled report results will be saved in the Recent Report Results. If you have email notifications turned off, you can still access the report results in the Recent Report Results section of the home page.
3 You can select if you want the result to be saved as an XLS spreadsheet, a CSV text file, or a PDF file.
4 Click Save Report As... and enter the report name. The report will appear in the Reports section of the home page under Customized. See Reports for more information.
© 2023 Property of Expeditors International of Washington, Inc. and its subsidiaries. Business Confidential and Proprietary. Reproduction by written authorization only. - Created by: Expeditors Technical Communications Department - |