View Allocation Plan
![]()
On the home page of Carrier Allocation, click the [Status] Plan: Weeks link to view the plan.
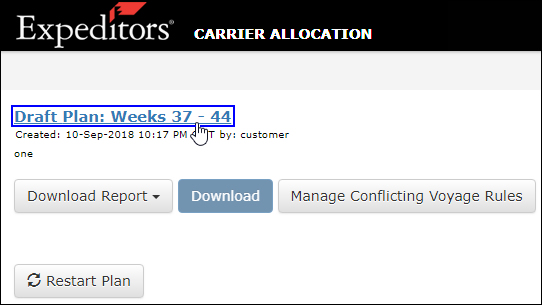
Figure 1: [Status] Plan: Weeks Link
|
Tip: Select the Download Report drop-down to view a list of reports to download and then click Download to save the report as an Excel spreadsheet.
Click Manage Conflicting Voyage Rules to view a list of all system-created target rules and whether or not there are any conflicts or warnings between the system-created target rules and existing voyage rules. If you don't see this button, please contact your Expeditors Carrier Allocation representative to have this feature implemented in your customer organization. |
Once you are viewing the plan, you will see tabs to view Plan By String, POs in the Plan, POs Not Allocated and Voyage Rule Warnings.
After you have viewed the plan, you can click Release Allocation Plan to send the plan to your carriers for confirmation. See Release Allocation Plan for more information.
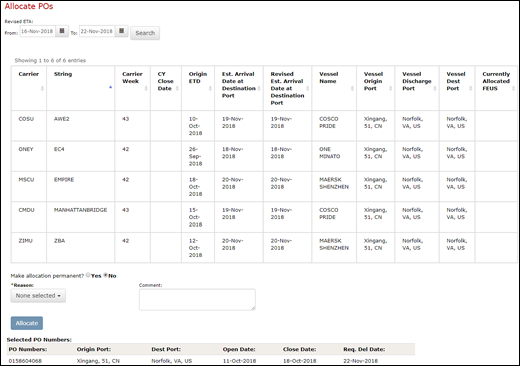
In the POs in the Plan and POs Not Allocated pages, you can select POs and click Allocate POs to manually assign POs to vessels.
Click to see more details on how to manually assign POs to a vessel
The Plan by String tab organizes the plan by Carrier and the String for each carrier.
You can filter the POs shown by Carrier Code, Vessel Origin Port, or Vessel Destination Port.
You can also switch between viewing the Summary by Carrier Week or viewing the Summary by ETD Week.
The booking & processing weeks (first 3 weeks in gray) are not released to Carriers.
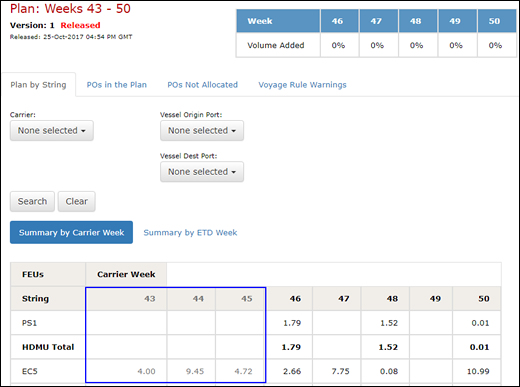
Figure 2: Plan by String Tab
You can change the POs shown by entering search criteria and then clicking Search.
You can run a search and then click Export to export only the search results.
You can change the number of POs shown per page using the Show ___ entries drop-down list at the top right of the table.
Click to see more details on how to manually assign POs to a vessel.
See Add PO to Allocation Plan for more information about adding POs to the allocation plan.
To add a comment to a PO, select the check box next to the POs you want to make a comment on, and click Add Comment.
|
Tip: You can add additional filters to this tab that are specific to your POs. Contact your Expeditors Representative for more details. |
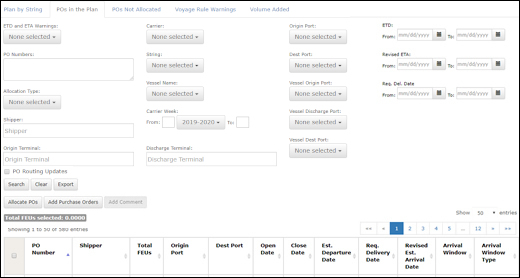
Figure 3: POs in the Plan Tab
The POs Not Allocated tab shows all POs that have not been assigned to a vessel.
See Add PO to Allocation Plan for more information about adding POs to the allocation plan.
Click to see more details on how to manually assign POs to a vessel.
To add a comment to a PO, select the check box next to the POs you want to make a comment on, and click Add Comment.
|
Tip: You can add additional filters to this tab that are specific to your POs. Contact your Expeditors Representative for more details. |
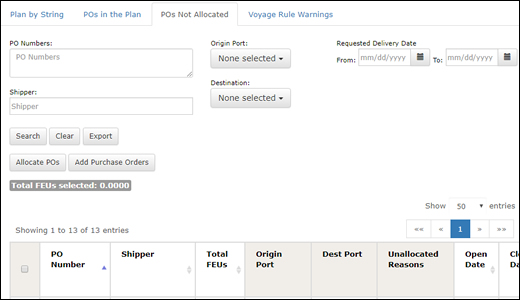
Figure 4: POs Not Allocated Tab
The Voyage Rule Warnings tab lists any carriers and their strings that are falling outside of customer instructions.
Click the FEUs link in the Current Allocation Plan column to see a list of POs.

Figure 5: Voyage Rule Warnings Tab
![]()
© 2021 Property of Expeditors International of Washington, Inc. and its subsidiaries.
Business Confidential and Proprietary. Reproduction by written authorization only.
- Created by: Expeditors Technical Communications Department -